Quick route: Restore access to the Great White, survive the first reconfiguration, travel from the rear toward the locomotive, reach Joseph and follow his lead to Alice. Recover the accumulator information, reach Reef’s server room and complete the final power plan. The car arrangement changes between runs, so follow your objective and exit markers rather than copying one player’s room coordinates.
Spoiler notice: The opening section below avoids major plot reveals. Character identities and the late-game plan appear further down after a second warning. If you only need to leave your first car, jump straight to section timing or the repair guide.
The opening: restore power and reach the terminal
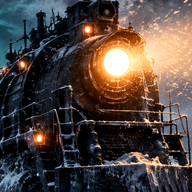
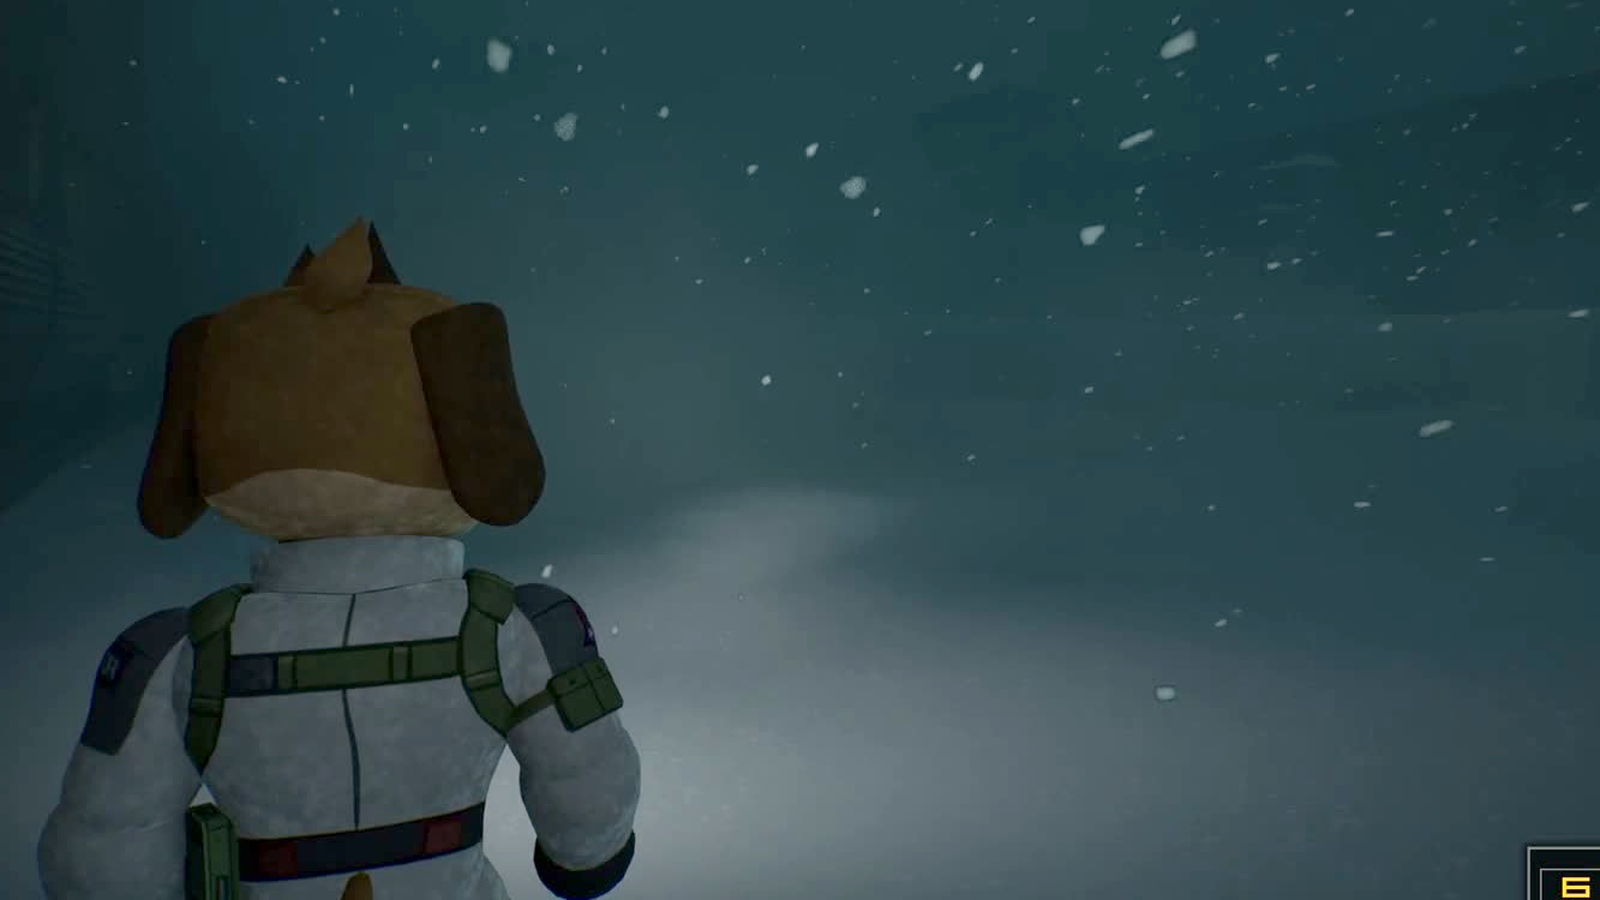
In the 1.0 release opening, the P.A.W. team follows a distress signal from the L.R.S. Great White, SHARK’s rail-mounted Antarctic research station. The story starts before the demo’s survival loop. Doug is asked to restore power, and the first interior sequence teaches you to equip your weapon, use heat and interact with the systems around the train. Watch the launch-version intro.
Follow the power objective before treating any side loot as mandatory. Widget identifies a computer terminal further along after the outbreak begins; connecting the Paw Pad gives the next objective. The station’s automated intelligence, Reef, initially discusses access restrictions and an engineering ID, but the emergency evolves and the immediate objective changes. Read the newest active objective rather than assuming every earlier instruction remains a permanent prerequisite. Source sequence at 8:28–11:00.
Once the train’s configuration shifts, the mission becomes a repeated progression loop. The official description calls the train procedurally generated. Exact door positions and pickups in a recorded playthrough are not universal route instructions.
Section timing: why you have to leave
The warning system tracks the progress of the journey and incoming supernatural storms. Widget also identifies an entity racing after the Great White. A security door opens toward the next section; once it is ready, move through. The train can reconfigure again at the pulse, so entering the transition near the last instant is an avoidable risk. Release story explanation at 11:11–12:45.
| Signal | What it means to your next action |
|---|---|
| Storm warning | Get indoors, load a gun and prepare for enemy entrances |
| Car condition worsening | Visit the associated maintenance terminal before a breakdown |
| Route door accessible | Ensure you have needed equipment, then advance |
| Tracker almost complete | Stop optional scavenging and take the next exit |
| Pulse / section transition | Expect changes to the next car arrangement |
If you get caught by the worm at a checkpoint, a Steam player has reported a similar event. That establishes a reported problem, not an officially verified fixed or unfixed issue. When retrying, leave additional time rather than looking for a supposedly universal worm-free corner. Community reports.
The car loop that works with random layouts
Every time the train gives you a new section, do the same six checks. First read the current objective. Second locate the route forward. Third identify the maintenance terminal and protect your warmth. Fourth gather credits to cover required passage and a practical reserve for supplies. Fifth prepare an accessible gun and loaded magazine before a storm. Sixth cross the security boundary as soon as the objective and door permit it.
This is a player workflow derived from the developer’s documented mechanics and the launch-version story video, not a guaranteed optimal speedrun. It has the advantage of working when different doors or loot spawn, unlike a fabricated “go left at the third room” route.
Story checkpoint: find Joseph
Spoilers begin here. After the initial reconfiguration, two possible survivor signatures are detected toward the front. Doug is routed back into the station from the rear because the locomotive area is unsafe for the helicopter. Find your way through the active section objectives until you encounter Joseph. His message points toward Alice, and a strange mark becomes a new clue. Story video: Joseph at about 13:45.
Do not confuse this story objective with a separate global “unlock Joseph” collectible. The source depicts it as part of progression. If you have lost track of the character after a reshuffle, use the current marker and section exit rather than assuming a fixed car number.
Story checkpoint: reach and free Alice
The team detects Alice near the locomotive, but she is restrained by something plant-like. Continue toward her current objective, clear the necessary area and follow the prompt that frees her. The footage shows Doug talking to her after the rescue; she connects SHARK’s project and the interdimensional crisis, then needs data from her laboratory. Alice rescue around 14:45–20:25.
The rooms around this checkpoint may differ between attempts; no current-source evidence supports promising a single fixed greenhouse route or a numeric device code. The practical route is objective marker → necessary obstruction → rescue interaction → updated mission.
Story checkpoint: obtain accumulator records
Alice asks for records from the accumulator systems, specifically the printouts in her lab. Reach the designated lab, retrieve the required information and keep the Great White running as you return to the next objective. The video establishes the mission goal but its automatic subtitles do not establish a universal sequence of precise shelves, turns or all possible procedural layouts. Follow the in-game target as shown in your run. Accumulator objective at about 20:25.
At this point the priority is still survival. Do not carry every optional object just because you are already far into a run: free slot capacity, ready ammunition and heat are practical necessities before the next encounter. See inventory and reloading when your weapon appears unusable.
Story checkpoint: Reef’s servers
The recovered records reveal a plan involving Reef’s central servers. Alice works on a program while Doug is sent toward the server room at the front. You are asked to connect your device quickly once you reach it. The attempt does not go to plan and the story introduces another confrontation. The full-release boss-and-cutscene compilation places the server sequence around 24:10–26:10. Watch from the plan explanation.
Prepare before triggering an interaction that visibly changes the scenario. That advice comes from the documented wave-and-inventory mechanics; exact encounter triggers and boss hit-point counts are not verified. If you are arriving out of ammo, the solution is to prepare in the preceding section, not to depend on a loot drop invented by a guide.
Endgame: the replacement power plan
After the first server approach fails, the group discusses rerouting the train’s power through the accumulator, with a supernatural ally playing a central role. Doug then heads into the late encounter with Dr. Arwolf and Reef. The provided recording gives a story order and shows the encounter, but most combat captions are music and short dialogue; they are not reliable evidence for exact attack telegraphs, damage numbers or a universally best weapon. Watch the ending sequence from 29:00.
A useful approach is to prioritize the active interaction objective, check your loaded magazine before committing and watch for changed instructions after each phase. If you need to see the encounter rather than guess from prose, use the embedded original video below. The boss guide separates confirmed story beats from fight preparation and explicitly avoids invented boss statistics.
Troubleshooting a run that feels stuck
Door stays closed: check whether the section’s current objective is complete, whether the mandatory credit cost has been paid and whether a wave is locking the car. Do not assume a single reason for all closed doors.
Can’t reach the locomotive: the initial story says its area is too dangerous for the helicopter; you progress from the train’s tail through later sections. This is not an instruction to walk outside the entire train at the beginning.
Inventory full while looking for a mission item: clear an appropriate slot and inspect the item type before assuming the objective is bugged. Your full inventory may consist of different physical slot sizes.
Terminal says repair but train stopped: follow the active repair prompt and restore the car rather than waiting out the cold. See train repair.
Checkpoint repeats: the official press kit describes repeated attempts as part of the roguelite story structure. That alone does not prove your specific state is saved or lost; verify what the current run screen shows after a retry. We do not publish unverified save-file locations.
Make a repeatable route of your own
Use the story progress checklist to mark the objectives that have actually happened in your run. It is a manual planning aid, not a live Steam-save reader. This matters because a written walkthrough can show the sequence, but only you know which objective was completed before your last failure.
Sources: Full-release no-commentary walkthrough, Zhain Gaming, release all bosses and cutscenes, official mechanical overview. All mission details above are paraphrased, not copied from another guide.
Watch the real game
FULL RELEASESource: Zhain Gaming. The video belongs to its creator and loads only when you choose to play.